Hanging with my peeps craft project was a lot of fun. I was able to get a few free wood pallets or skids. I disassembled them and used the wood to make this fun little sign. I found some ideas on Pinterest of signs people made with the "hanging with my peeps" but I was surprised that I did not find any with the peeps hanging. I cut my wood down to an 18-inch board for the topper and then cut two 5 inch and two 6 inch pieces. I used the Cricut machine to make a simple peep stencil and used inexpensive letter stickers from Ac Moore to add the names of the family members under each peep. A simple rope was attached to the back of the sign with a staple gun. I used eyelet screws and a couple of chain links to hang the peeps from the sign and then a cute little pastel bow to dress it up a little. this was a quick fun little craft night project.
Its my blog so I can do what I want here!! I have 2 awesome kids and we love to do fun stuff like crafting and geocaching.. Digital scrapbooking was my favorite thing for while as you can see in early blog posts.Now I am just doing a lot of different craft projects with friends.so look for lots of fun stuff on my blog like craft ideas, ladies night craft ideas, sundrops260@gmail.com
Friday, March 22, 2019
Wednesday, March 20, 2019
Reversible fall pumpkin and winter snowman wood craft
This was one of our first craft night projects. we were able to find wood slabs at the Ac Moore. they were a little pricey so I stopped at a local house that always has fun natural wood craft items for sale on their front lawn and I asked If I could buy a fee wood slices from them.
This was so much fun to make and It was able to be displayed in October on the pumpkin side then after thanksgiving I just turned it around and left the snowman on the from porch, for valentines day i added a rose in his arm and gave him a red scarf. I had to put it away in march when the Easter decorations started to come out but this one project was displayed for a few months
we drilled small holes in the wood so we could place a dowel into them to hold them together and drilled holes to stick the sticks into for snowman arms. I hot glued a pine cone to the top which was cute for the pumpkin side of the project and then became the hat holder for the snowman.
Friday, March 15, 2019
Clay Pot Bubble Gum Candy Dishes
There are so many great ideas on Pinterest. I have been hosting a lady’s
wine and craft night about once a month. We have a small group on Facebook that
we use to share ideas and project requests and plan our next craft night. We
started with just 2 friends crafting in the basement and turned it into lady’s
night!! Who doesn't need more time with the girls right? So last month we
made these adorable bubble gum candy dishes. I love how the same set of supplies can turn into so many different things.
For this project I was able to
shop at Joann fabrics they have a sale 40% off the clay pots and I also had a
coupon on my Joann app for 20% off my total purchase so I got a great deal on
supplies.
for this project we needed:
5-inch clay pots
clay pot saucers
glass fish bowls
wooden round knobs
acrylic paint.
setting up for craft night I
pre-painted the clay pots and saucers with a white primer ( the kind you use
for painting walls). I primed them ahead of time because it would take too many
coats of acrylic paint without it, and on craft night I did not want to take too
much time priming and waiting for paint to dry.
I had some pre-made bows in the
craft room that made very cute embellishments to out projects.
This was a great girls night craft project the cost was not high the supplies were not complicated and I was able to shop sales. no one needed to have amazing artistic skills for their project to turn out awesome and we had a great time. Who is ready To host their own Craft night.?
I started this new super fun thing...Craft night with the girls.
We get together about once a month and we work on a fun project and we drink a
little wine. I collect all the supplies for everyone using craft store coupons
and shop sales and dollar tree stores and everyone splits the cost of the
project supplies. if keeps cost down for everyone when we can buy one spool of
rope or one 12 count package of embellishments and split them. This idea
started when me and one friend decided to get together a couple times a month
to make things. WE posted pictures on Facebook and had lots of positive
feedback of our crafts and found others wanted to join. I have a nice craft
area in my basement, so I figured we could allow others to join. this week we
had 6 girls and my craft room is getting to small just a few short months after
we started. out Facebook group is up to 12 girls already, so I am looking
forward to possible having a big craft night in the summer when we can craft in
the back yard and fit more than 6 girls. I will be posting some of our project’s
ideas here over the next few weeks. Craft night has been a big hit already and
it is such a good excuse to get the girls together for a no stress fun evening.
My daughter is 11 and she likes to craft with me but on craft night she loves
hanging out with the kids that come with their moms, so she will usually do her
project before craft night. This has been a big help for me. While we work on
her craft I get an Idea of what parts might be more challenging and if I forgot
anything we will need.
I would like to inspire other
groups of ladies to get crafty and have some fun girl Time.
Wednesday, November 11, 2015
hello everyone.
my daughter had a blast making our tutorial on out waterproof cell phone holders. She decided we need to make a series of tutorials of all the fun things we make for Geocache Trade items. I still do not like eeing myself on video but I do like making things and my kids wanted to record it so here is our latest tutorial. Today we made wooden nickels with mickey mouse on them out with just a few simple items. you will nee wooden nickel blanks ( amazon 13.00 for 200) modge podge and napkins any napkins with any item you want to put on your nickles. This is a fun project with the kids, nit expensive and fun to leave as trade items in a geocache or just for the kids to play with. If you dont know what geocaching is please go check it out it is a fun treasure hunting adventure game that is a
-- Separate the napkins so you have just the top ply that has the printed image.
-- Put a thin even layer of modge podge on your wooden nickle
-- place your cut out image onto the nickle
-- cover the top of the image with another thin layer of modge podge
-- pull down on your excess napkin to remove it
-- if there are extra peices of napkin that still needs to be removed on the side just use sandpaper or a nail file to remove. rubbing in a downward motion.
- let dry follow the same steps on the back for a double sided wooden nickle
-- after it is completely dry use a clear glaze ( I use RUST_OLEUM triple thick)
-- let dry 24 hours
-- turn over and spray the clear glaze on the other side
-- let dry..
Thursday, October 22, 2015
Wednesday, October 21, 2015
I enjoy making geocaching swag when I cant get out to go geocaching. This week I finally made the item that I feel is worthy of being my signature item. I am making water resistant ( should be water proof but I cant promise it will not get a hole in it) cell phone/ electronic device holder. Some have wristlet straps and others just a small loop since I am sure the men do not want wristlets but may want to attach them to a carabiner clip or even a laynard.
I posted my new item to a facebook group and someone asked if there is a tutorial for the project and since it is my own original idea I thought I would try to create my first tutorial. Again my first so bear with me.
Items needed
4x6 inch extra heavy duty zip lock bags ( I got them on Ebay $8.82 for 50 bags about .18 each)
a cutting mat
ruler or straight edge
duct tape ( craft store 4.00 before the coupons that are always available and some purchased at the dollar tree).
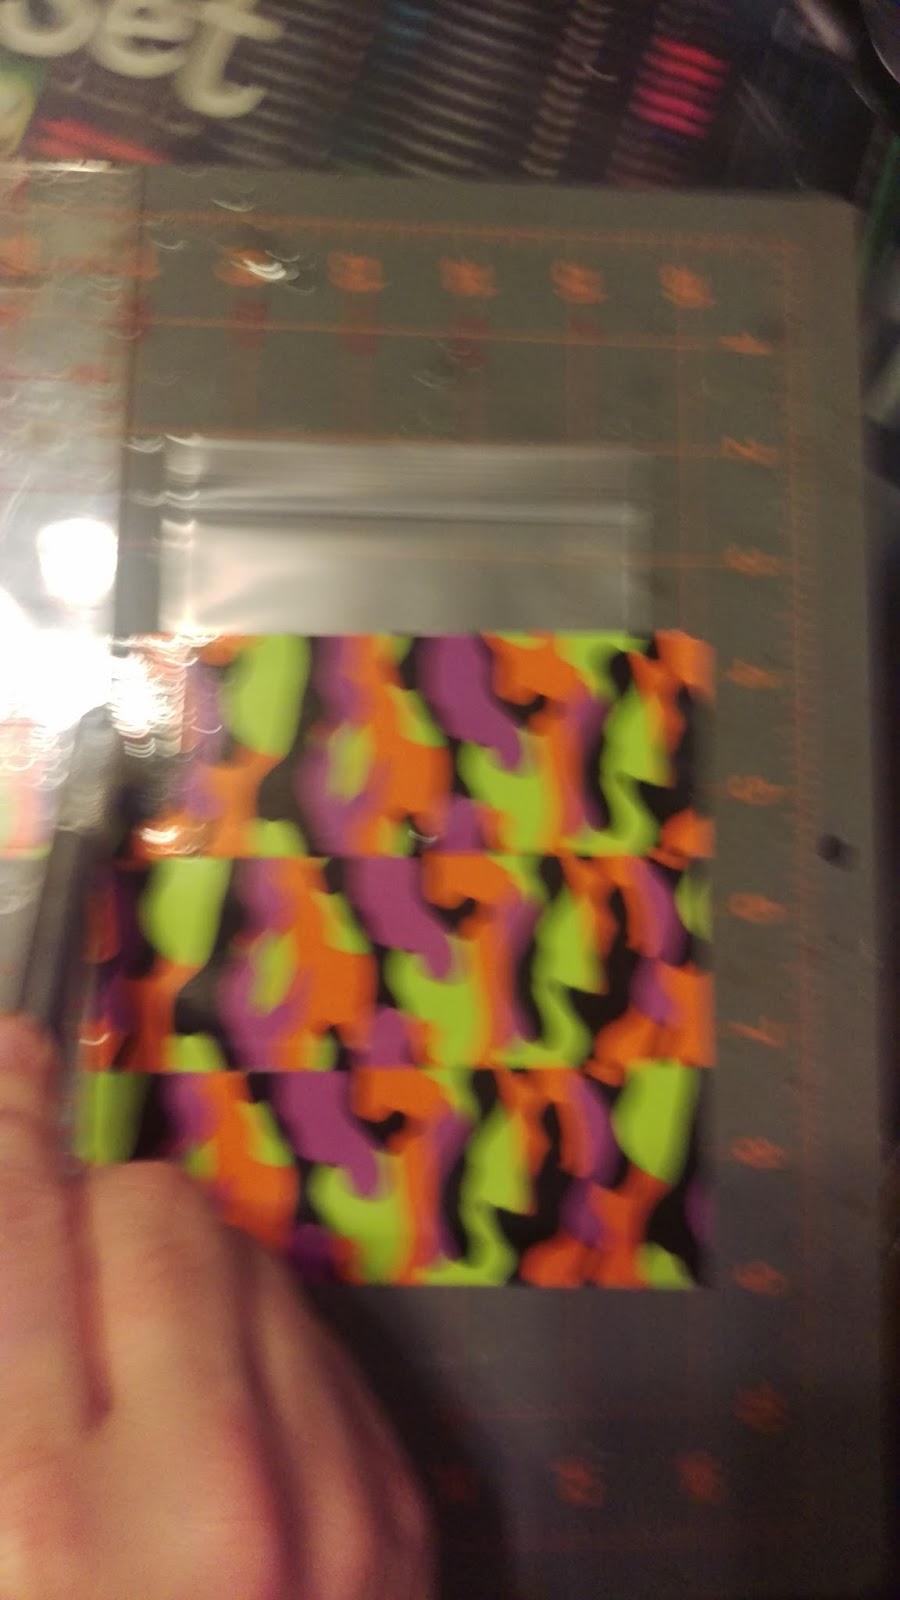
My bags are 4 inch wide so I wanted 5 inch strips of tape placed over the back to project so I will have about a half inch to wrap around to the front. Be sure to also leave a little extra on the bottom. This gives my project a "window" for the phone to be seen as well as reinforcing the seams of the bag keeping it nice and strong. I placed my ziplock bag on my cutting mat and taped over it leaving my extra half inch on either side and slightly over lapping each row of tape. using my xacto blade and ruler to cut even edges.
once the backof the ziplock bag is covered I peal the project and flip it over to the front side. first cut a small slit in the bottom corner so that the sides and bottom can be folded over separately. I put my phone into the bag before I fold the tape over I am not sure how necessary this is but I feel like it gives me a visual guide.I fold the sides over and then the bottom up the extra tab on either side of that bottom part will get wrapped around to the back of the project.
The next step is the top part of our window and the strap. for the strap I found about a 13 inch strip of tape is a nice length but I feel it is too wide so I measure a 13 inch strip of tape and using my xacto blade and ruler I cut right down the middle of the tape ( do not dicard the other half if you plan to make more then one) the top part of the window I use a 6 inch srtip again cut down the middle as it is too wide and will cover too much of your window area.
ok so far easy right.. the 13 inch strip I just cut will be placed onto my project about 1 inch of the tape should be placed on to the upper left hand side of the project so that half is on the front and half is on the back side.
now I fold the tap in half so the first inch is attached to my project and the rest is folded sticky side to sticky side. If the fold is not perfectly in half no worries I just use scissors to trim the extra sticky edge. That will create your strap. if you do not want a strap but just a small tab that can attach to a carabiner clip or even a laynard just make the strip much smaller.
Next I place by 6 inch strip of tape that I cut down the middle over the top (front) of my project finishing my window and also leaving extra ape that will wrap around to the back. Before I wrap that tape to the back fold MY 13 inch strap over.
using the extra tab to secure my loop to create the strap.
I feel this final step gives it that extra something.. I found some fun thinner duct tape and washi tape I use that to frame the window on the front.
I now have a fun trade item that will keep phones safe while crossing creeks or getting caught in the rain.They come in handy when kayak caching or beach days. or even just to have the wrist strap so you dont set your phone down to sign a cache log and misplace your phone. the wrist strap can easily be attached to a laynard as well if you want to keep it on your neck. I did not try to create a window in the back because I found pictures do not work well through the plastic however the touch screen is fully functional. I added a little note in my item that says the sundrops and sundroplets wish you and your electronic devices many safe and happy geocaching adventures.
here is a picture of some of my other patterns
hope you enjoyed this and it is clear enough to copy. I am going to try to do a video as well but I may have to ask the sundroplets for help with you tube and I will share once that is done.
Subscribe to:
Posts (Atom)