I enjoy making geocaching swag when I cant get out to go geocaching. This week I finally made the item that I feel is worthy of being my signature item. I am making water resistant ( should be water proof but I cant promise it will not get a hole in it) cell phone/ electronic device holder. Some have wristlet straps and others just a small loop since I am sure the men do not want wristlets but may want to attach them to a carabiner clip or even a laynard.
I posted my new item to a facebook group and someone asked if there is a tutorial for the project and since it is my own original idea I thought I would try to create my first tutorial. Again my first so bear with me.
Items needed
4x6 inch extra heavy duty zip lock bags ( I got them on Ebay $8.82 for 50 bags about .18 each)
a cutting mat
ruler or straight edge
duct tape ( craft store 4.00 before the coupons that are always available and some purchased at the dollar tree).
My bags are 4 inch wide so I wanted 5 inch strips of tape placed over the back to project so I will have about a half inch to wrap around to the front. Be sure to also leave a little extra on the bottom. This gives my project a "window" for the phone to be seen as well as reinforcing the seams of the bag keeping it nice and strong. I placed my ziplock bag on my cutting mat and taped over it leaving my extra half inch on either side and slightly over lapping each row of tape. using my xacto blade and ruler to cut even edges.


once the backof the ziplock bag is covered I peal the project and flip it over to the front side. first cut a small slit in the bottom corner so that the sides and bottom can be folded over separately. I put my phone into the bag before I fold the tape over I am not sure how necessary this is but I feel like it gives me a visual guide.I fold the sides over and then the bottom up the extra tab on either side of that bottom part will get wrapped around to the back of the project.
The next step is the top part of our window and the strap. for the strap I found about a 13 inch strip of tape is a nice length but I feel it is too wide so I measure a 13 inch strip of tape and using my xacto blade and ruler I cut right down the middle of the tape ( do not dicard the other half if you plan to make more then one) the top part of the window I use a 6 inch srtip again cut down the middle as it is too wide and will cover too much of your window area.
ok so far easy right.. the 13 inch strip I just cut will be placed onto my project about 1 inch of the tape should be placed on to the upper left hand side of the project so that half is on the front and half is on the back side.
now I fold the tap in half so the first inch is attached to my project and the rest is folded sticky side to sticky side. If the fold is not perfectly in half no worries I just use scissors to trim the extra sticky edge. That will create your strap. if you do not want a strap but just a small tab that can attach to a carabiner clip or even a laynard just make the strip much smaller.
Next I place by 6 inch strip of tape that I cut down the middle over the top (front) of my project finishing my window and also leaving extra ape that will wrap around to the back. Before I wrap that tape to the back fold MY 13 inch strap over.
using the extra tab to secure my loop to create the strap.
I feel this final step gives it that extra something.. I found some fun thinner duct tape and washi tape I use that to frame the window on the front.
I now have a fun trade item that will keep phones safe while crossing creeks or getting caught in the rain.They come in handy when kayak caching or beach days. or even just to have the wrist strap so you dont set your phone down to sign a cache log and misplace your phone. the wrist strap can easily be attached to a laynard as well if you want to keep it on your neck. I did not try to create a window in the back because I found pictures do not work well through the plastic however the touch screen is fully functional. I added a little note in my item that says the sundrops and sundroplets wish you and your electronic devices many safe and happy geocaching adventures.
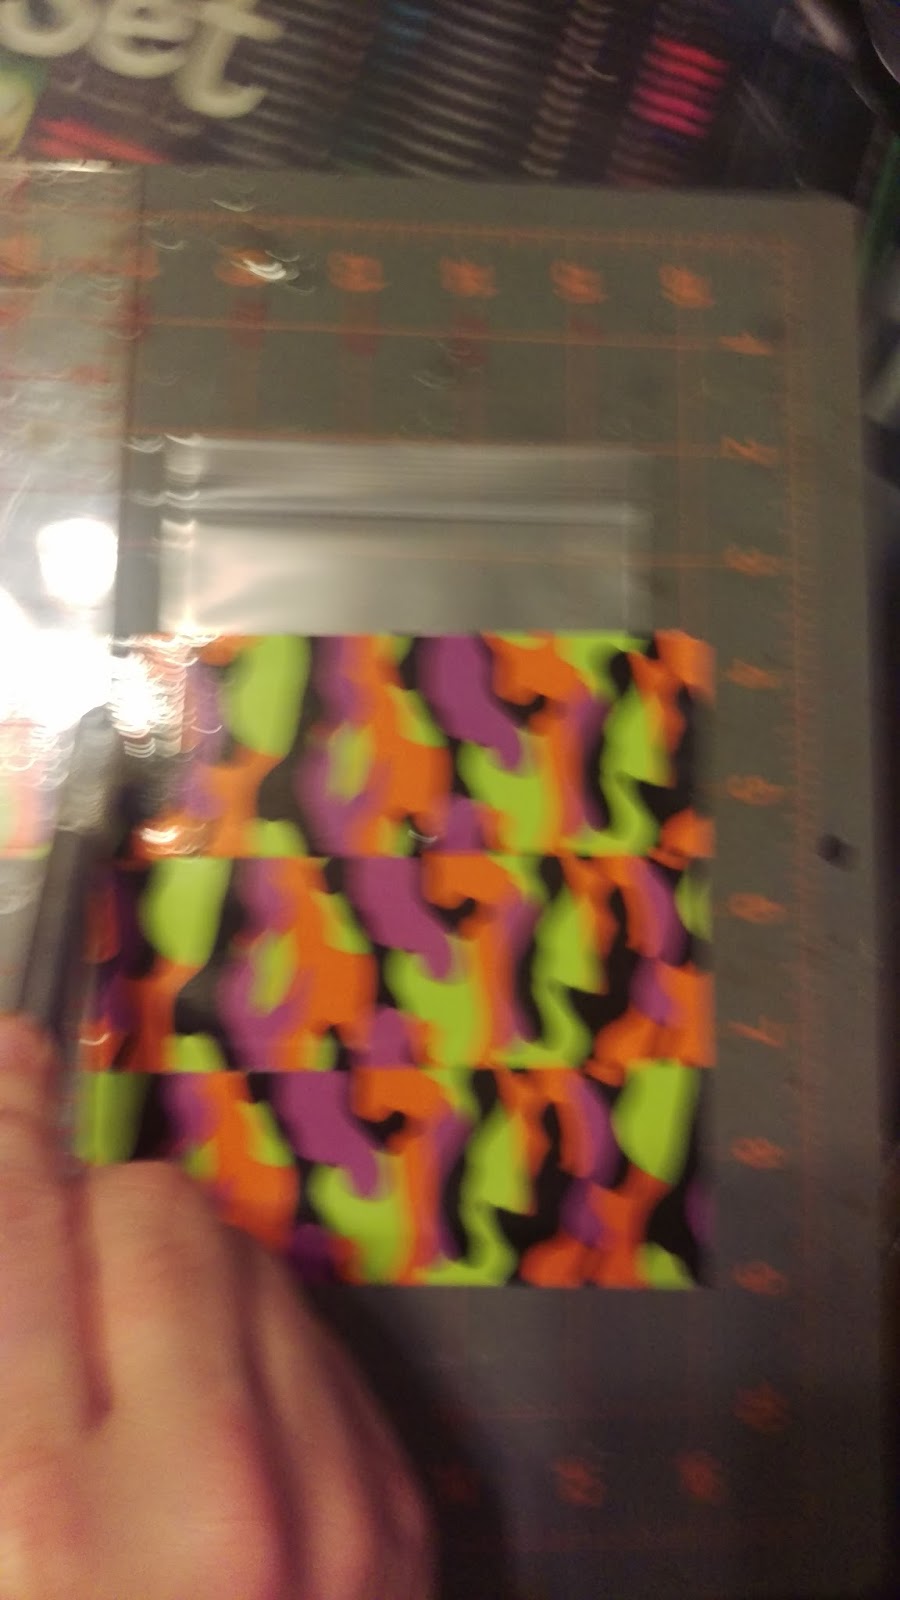
here is a picture of some of my other patterns
hope you enjoyed this and it is clear enough to copy. I am going to try to do a video as well but I may have to ask the sundroplets for help with you tube and I will share once that is done.